


Follow these steps to connect your Aveshost AmailPlus mailbox to the Mail app on your Mac.
Before You Begin
Make sure your AmailPlus mailbox has been created and have the following ready:
- Your full email address, such as [email protected].
- Your mailbox password.
The screenshots below follow the setup sequence. Account details in the screenshots are examples; enter your own email address and password. Labels may vary slightly with your macOS version.
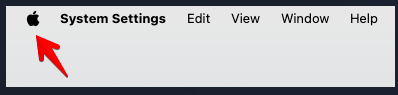
Step 1: Open the Apple menu
Select the Apple logo at the upper-left corner of your screen.
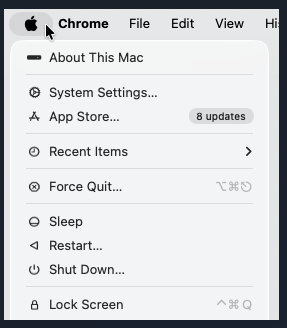
Step 2: Open System Settings
Choose System Settings... from the Apple menu.
Step 3: Select Internet Accounts
In System Settings, select Internet Accounts.

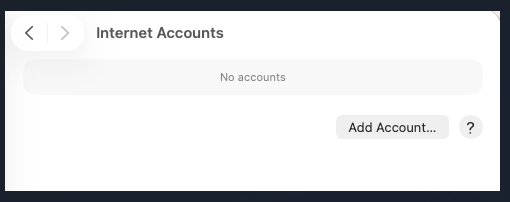
Step 4: Add an account
Select Add Account... to begin adding your AmailPlus mailbox.
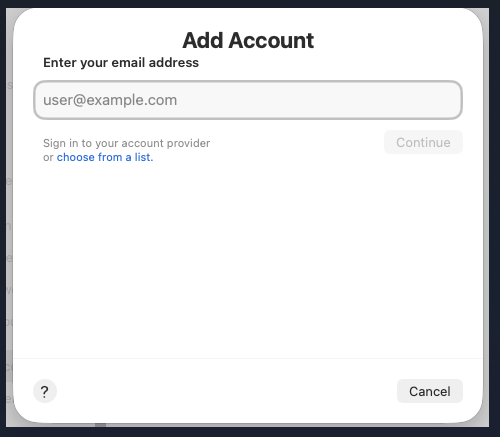
Step 5: Enter your email address
If prompted, enter your full AmailPlus email address and select Continue. If a provider list appears immediately, continue with Step 6. You can also use choose from a list on the screen below to display the available providers.
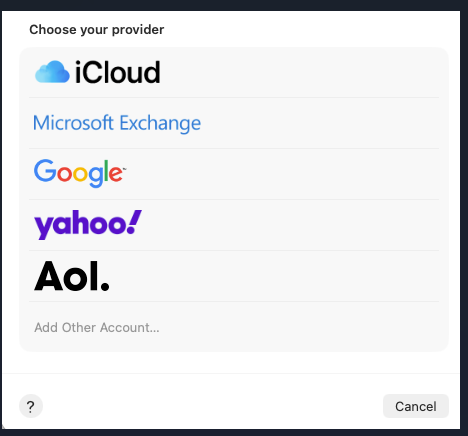
Step 6: Choose Add Other Account
In the provider list, select Add Other Account... to set up your AmailPlus mailbox manually.
Step 7: Select Mail Account
Choose Mail Account.

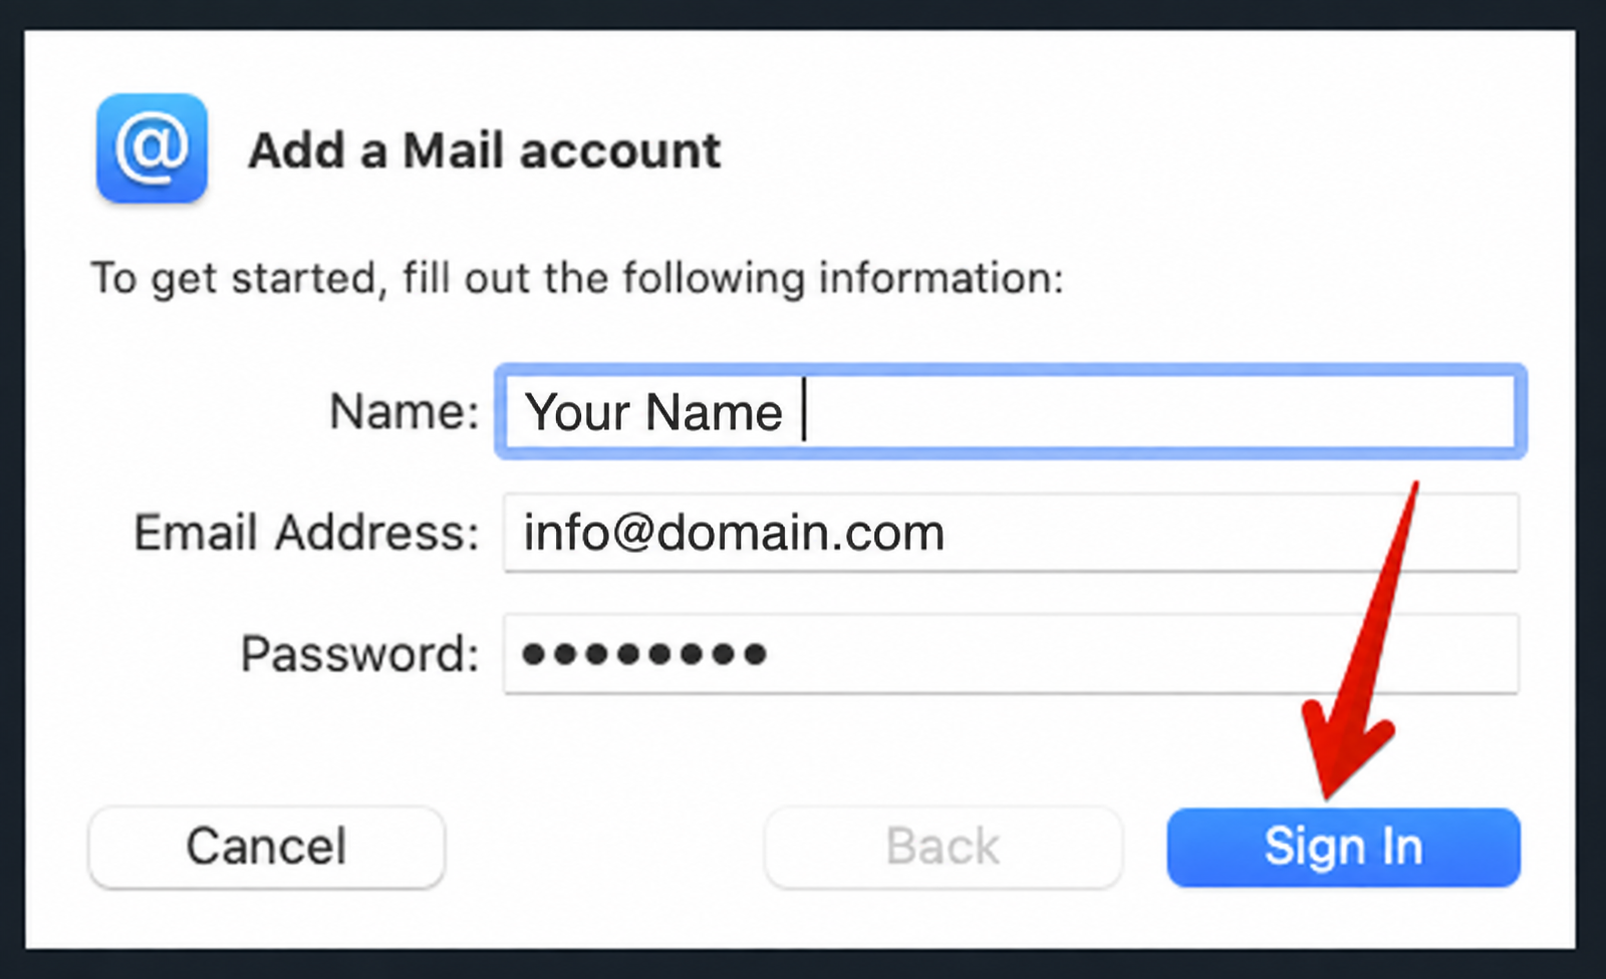
Step 8: Enter your mailbox details
Complete the account form with the following information:
| Field | Value |
|---|---|
| Name | Your name or business name |
| Email Address | Your full email address, for example [email protected] |
| Password | Your mailbox password |
Select Sign In to continue.
Step 9: Enter the server settings
If Mail cannot automatically verify the account, enter the AmailPlus server details manually. Use your full email address as the username.
Incoming Mail Server (IMAP)
| Field | Value |
|---|---|
| Account Type | IMAP |
| Server Name | imap.amailplus.com |
| Port | 993 |
| Encryption | SSL/TLS |
| Username | Your full email address |
| Password | Your mailbox password |
Outgoing Mail Server (SMTP)
| Field | Value |
|---|---|
| Server Name | smtp.amailplus.com |
| Port | 465 with SSL/TLS, or 587 with STARTTLS |
| Encryption | SSL/TLS for port 465; STARTTLS for port 587 |
| Username | Your full email address |
| Password | Your mailbox password |
| Authentication | Required; use the same mailbox credentials as incoming mail |
Check before continuing: Set Account Type to IMAP, then select Sign In.
The initial form may show only the server names, as below. If you need to check ports after adding the account, open Mail > Settings > Accounts > Server Settings. Turn off Automatically manage connection settings where necessary to view the port and authentication fields. See Apple's server settings instructions.
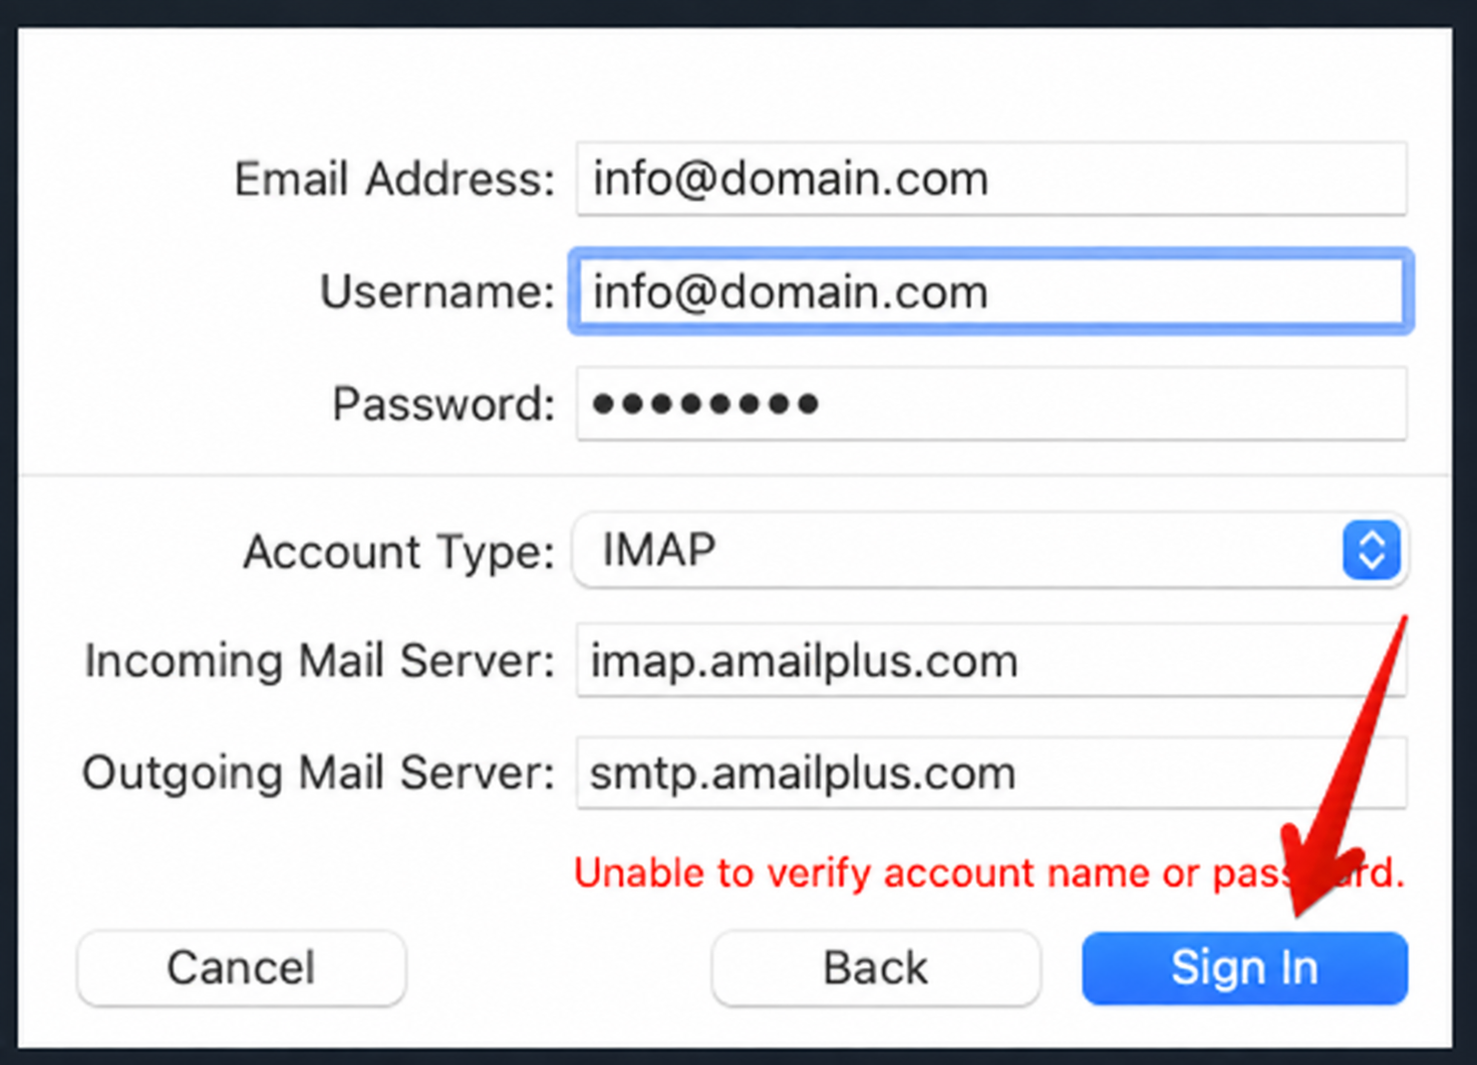
The message Unable to verify account name or password can appear while manual server details are still required. If it remains after entering the settings, check your email address, mailbox password and server names before trying again.
Step 10: Select Mail and finish
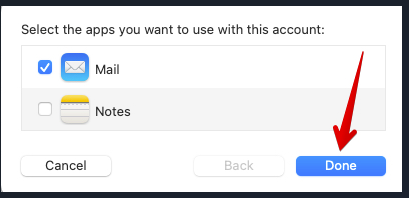
Keep Mail selected, leave Notes unticked for this email-only setup, then select Done.
Your AmailPlus mailbox is now available in Apple Mail. Allow messages to sync, then send and receive a test email.
Need help?
If you cannot connect, check your credentials at AmailPlus Webmail and contact Aveshost Support for assistance.
