


Add a professional email signature to your Aveshost AmailPlus mailbox so recipients can easily find your name, company and contact details. This guide shows how to create a signature, format it and choose when it is added automatically.
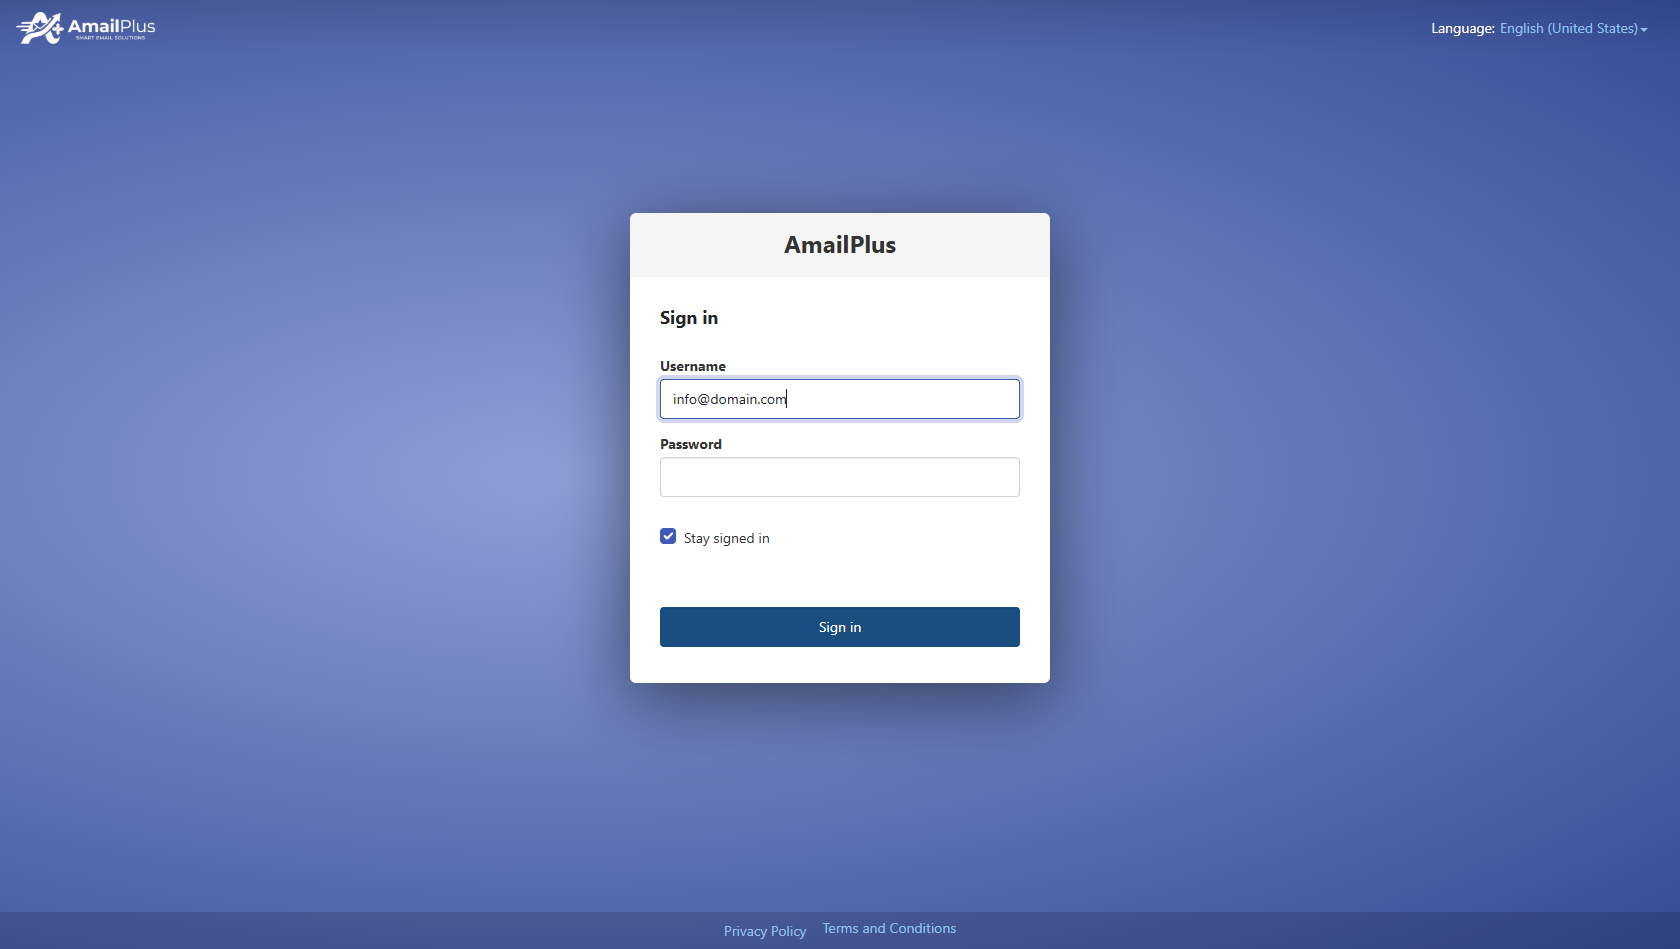
1. Log in to AmailPlus webmail
Open webmail.amailplus.com and sign in with your full email address and mailbox password. For example, your email address may be [email protected].
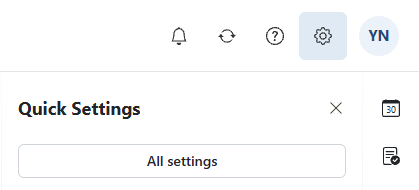
2. Open All settings
Click the gear icon in the top-right corner. In the Quick Settings panel, select All settings.
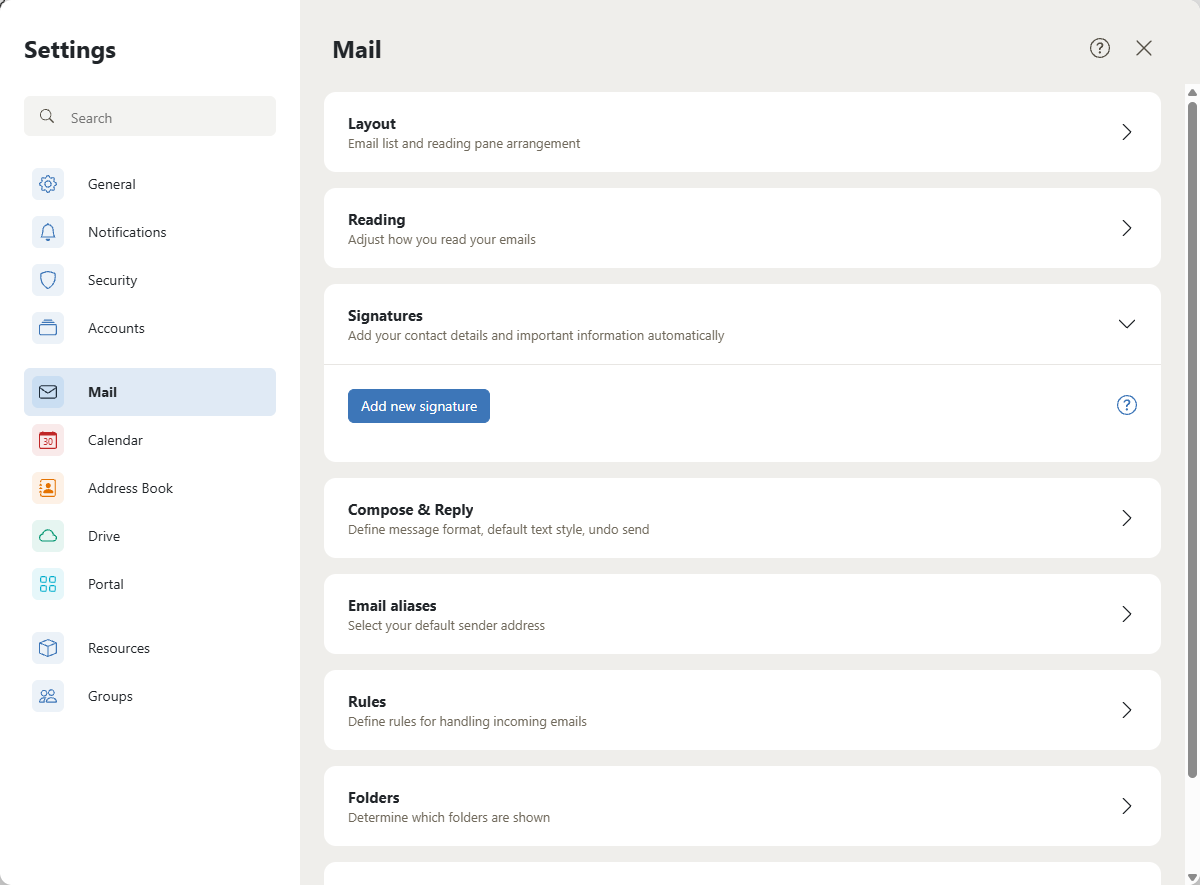
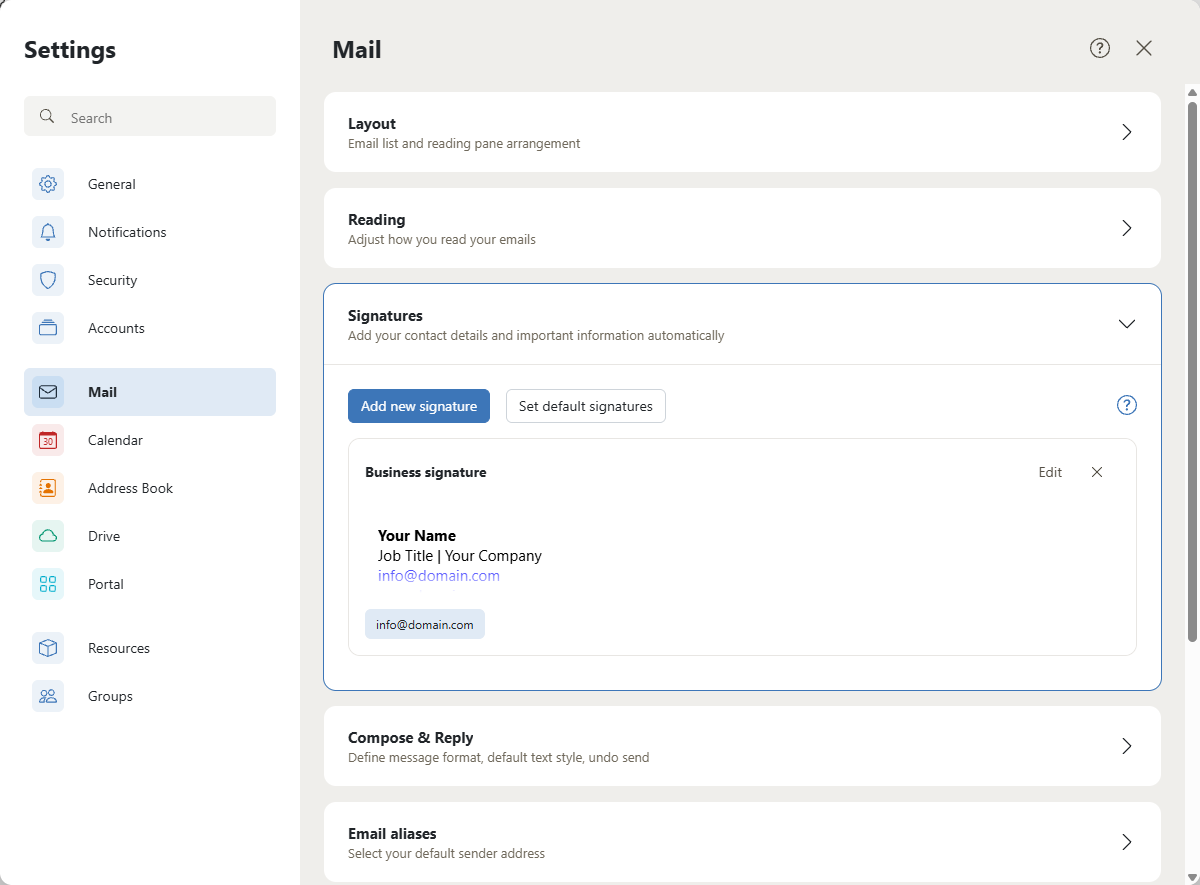
3. Open Mail > Signatures
Choose Mail in the left-hand menu, then expand Signatures. This is where you create and manage your signatures.
4. Create your signature
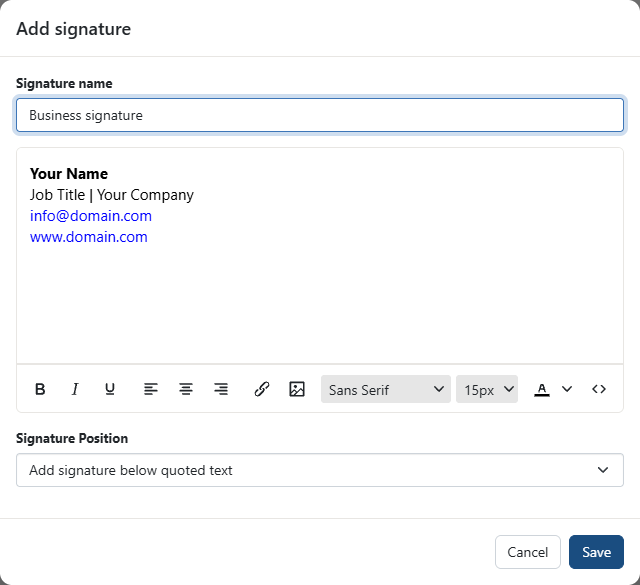
Click Add new signature. Enter a descriptive Signature name, such as Business signature, so you can identify it later.
In the text area, enter the details you want recipients to see. For example:
Your Name
Job Title | Your Company
[email protected]
www.domain.com
Replace these examples with your own details. You can also include a telephone number, company tagline or a short disclaimer where needed.
Format the signature
Use the toolbar below the text area to apply bold, italic or underline, adjust alignment, and choose the font, size and text colour. Use the link button to add a website or social profile, and the image button if you want to include a company logo. Keep the layout readable and check that your contact details are correct.
Choose the signature position
Under Signature Position, choose one of the following:
- Add signature above quoted text — places your signature before the previous message when replying.
- Add signature below quoted text — places it after the quoted conversation.
This setting controls its position relative to the quoted message. When you are happy with the signature, click Save.
Interface note: The current AmailPlus screen shown here uses Add new signature. A New from Template button is not required for these steps.
5. Set your default signatures
After saving, your signature appears in the Signatures section. Click Set default signatures.
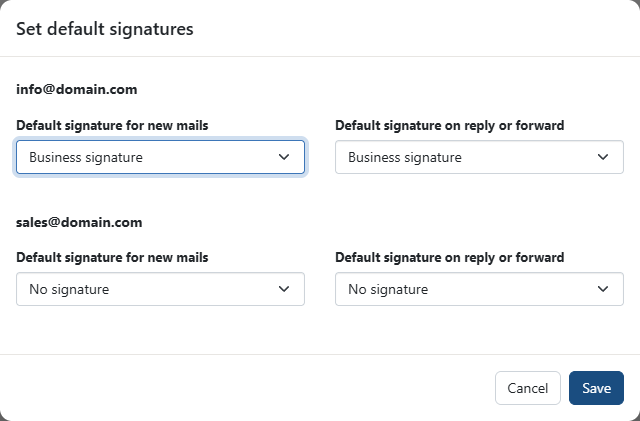
For the email address you want to configure, choose your signature in:
- Default signature for new mails — used when you compose a new email.
- Default signature on reply or forward — used when replying to or forwarding an email.
You can select different signatures for these two cases, or choose No signature. If more than one sender address appears, check the selections for each relevant address. Click Save to apply your choices.
6. Check your signature
Close settings and open New email. Check that the expected signature appears for your selected sender address. Confirm the formatting and links before sending your next message.
To make changes later, return to Settings > All settings > Mail > Signatures and click Edit beside the signature. Save your changes when finished.
Need help? Contact Aveshost Support if you cannot find the signature settings or your saved signature does not appear.
