


Use Mozilla Thunderbird to read and send your Aveshost AmailPlus email on your computer. This guide takes you through the device setup instructions in webmail, then shows how to add the mailbox to Thunderbird using IMAP and SMTP.
1. Make sure your AmailPlus mailbox is ready
You will need an active AmailPlus mailbox, its full email address and its mailbox password. For example, [email protected] is a full email address. Replace this example with your own address throughout setup.
If you have not yet purchased email hosting, see How to Purchase Business Email Hosting (AmailPlus). If your domain still needs its email records configured, follow How to Link Your Domain to Aveshost AmailPlus.
2. Log in to AmailPlus webmail
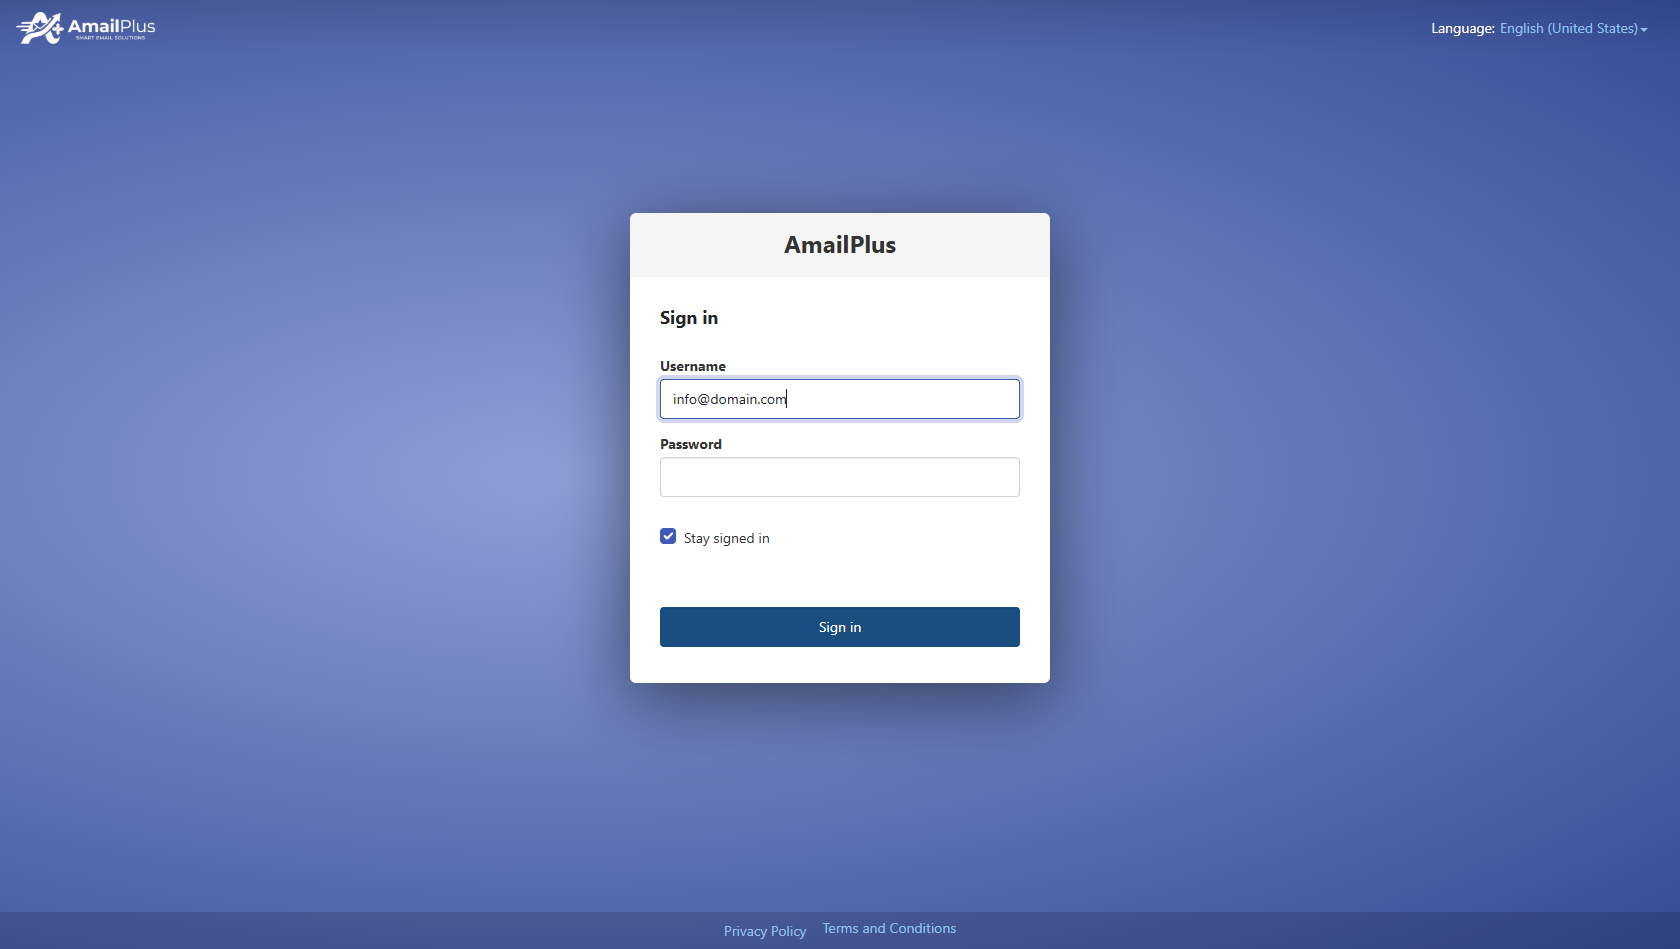
Open webmail.amailplus.com and sign in with your full email address and mailbox password. For more detail, see How to Access Your AmailPlus Email.
3. Get your device setup instructions
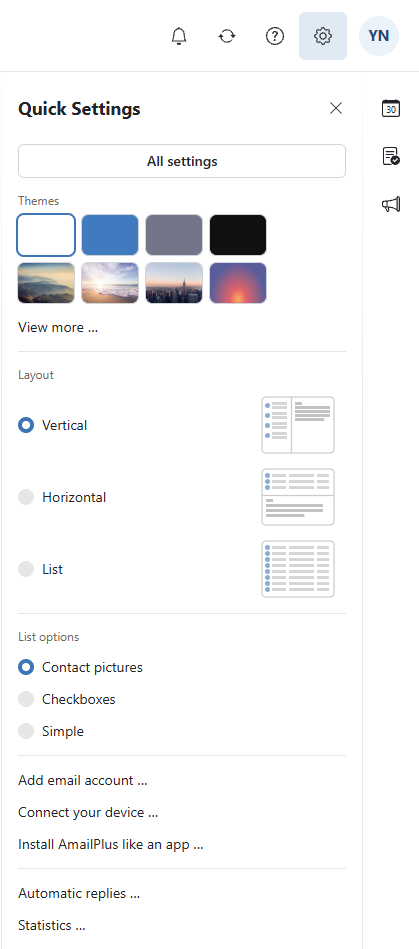
Click the gear icon in the top-right corner of webmail. Scroll down in Quick Settings and select Connect your device….
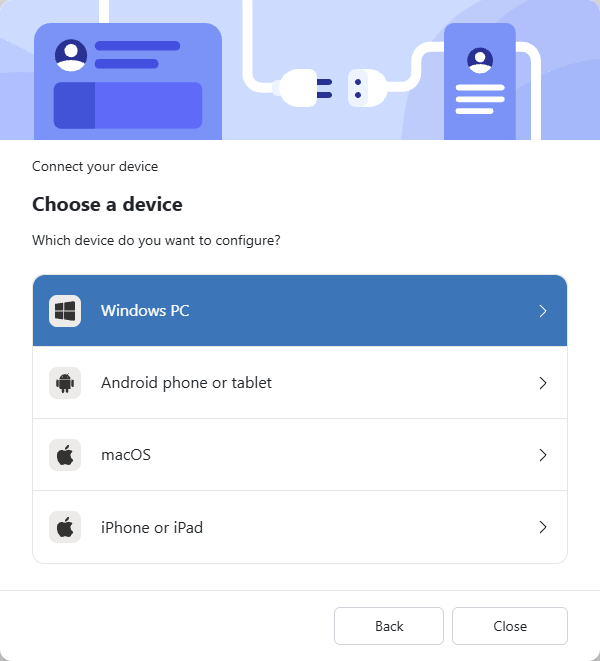
Choose Configure a specific device or application. On the next screen, select Windows PC.
Select Mail to view the setup instructions. For Thunderbird, use the dedicated AmailPlus incoming and outgoing hostnames in the configuration table below.
4. Install Thunderbird on your PC
If Thunderbird is not already installed, visit the official Thunderbird download page. Choose the appropriate Windows download and language, install the application, then open it.
5. Add your AmailPlus email to Thunderbird
The screenshots below show the Thunderbird menu sequence used in the reference guide. Menu labels and the account setup screen may vary slightly with your installed version.
i. Open the settings menu
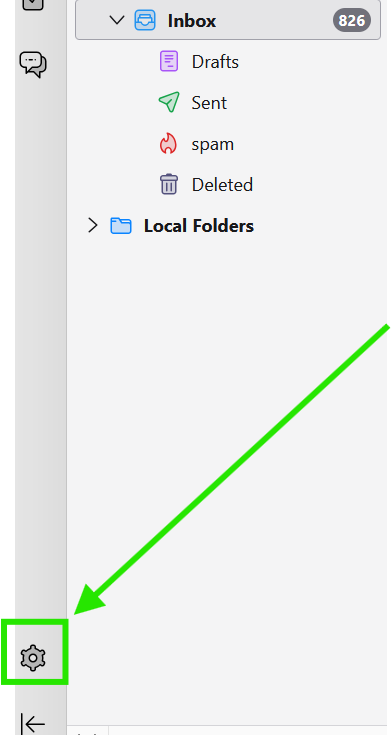
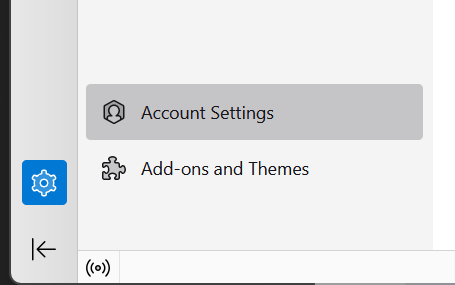
Click the gear icon near the bottom-left corner of Thunderbird.
ii. Choose Account Settings
Select Account Settings from the menu.
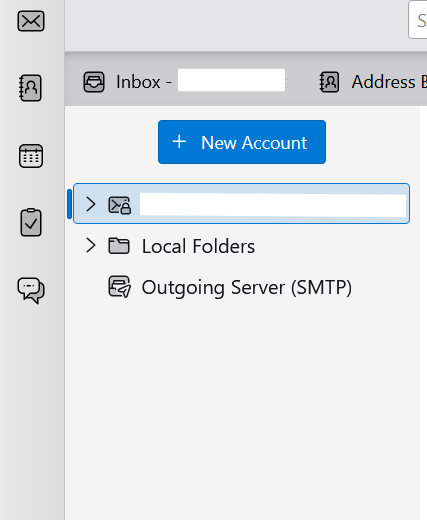
iii. Start a new account
In Account Settings, click New Account near the top left.
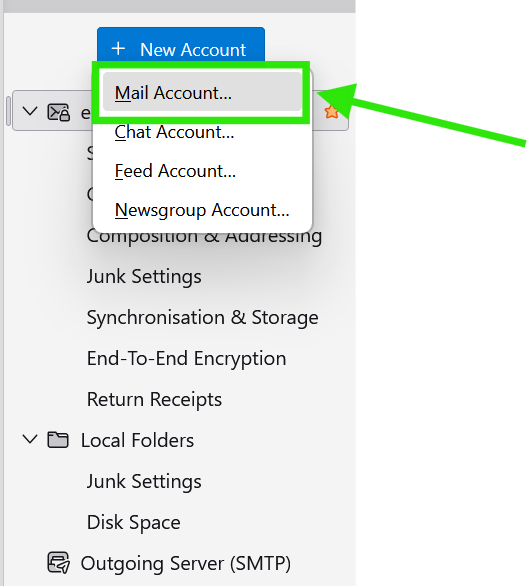
iv. Select Mail Account
Choose Mail Account…. If Thunderbird already displays its new-account welcome screen, you can proceed directly to the mail account form.
v. Enter your mailbox details
Enter your name as you want recipients to see it and your full email address, such as [email protected]. Enter the mailbox password when Thunderbird asks for it, then click Continue. Use the email account password, not your Aveshost client-area password.
vi. Review the configuration
Allow Thunderbird to look for the account settings. Choose IMAP so your messages and folders stay synchronised with webmail. If the detected settings need changing, click Edit configuration or the manual configuration option offered by your version.
vii. Enter the incoming and outgoing settings
Use these AmailPlus settings from the Aveshost client area under Client & Device Setup:
| Setting | Incoming mail | Outgoing mail |
|---|---|---|
| Protocol | IMAP | SMTP |
| Server / Hostname | imap.amailplus.com | smtp.amailplus.com |
| Port | 993 | 587 |
| Connection security | SSL/TLS | STARTTLS |
| Authentication method | Normal password | Normal password |
| Username | Your full email address | Your full email address |
| Password | Your mailbox password | Your mailbox password |
Example username: [email protected]. Replace it with your actual mailbox address for both servers. Use imap.amailplus.com for incoming mail and smtp.amailplus.com for outgoing mail.
viii. Test and continue
If Thunderbird offers Test or Re-test, use it to check the configuration. Correct any errors, then click Continue. Enter the mailbox password if prompted and continue through the remaining setup screens.
ix. Finish setup
When Thunderbird confirms that the account is connected, click Finish or Done, depending on your version. The mailbox should now appear in the folder pane. Allow time for the first synchronisation, then check that you can receive and send email.
If setup fails: Check the full username, mailbox password, server names, ports and security choices. Try signing in to webmail to confirm the password. Contact Aveshost Support if the connection still fails.
Prefer Outlook? Follow our guides for Outlook Classic or Outlook (New).
