


AmailPlus webmail lets you read, send and organise your Aveshost business email in a web browser. You can also switch to the calendar and other workspace applications available with your account.
This guide introduces the main email controls. The screenshots use example account details, and existing messages are blurred for privacy.
a. Viewing emails
1. Log in to webmail
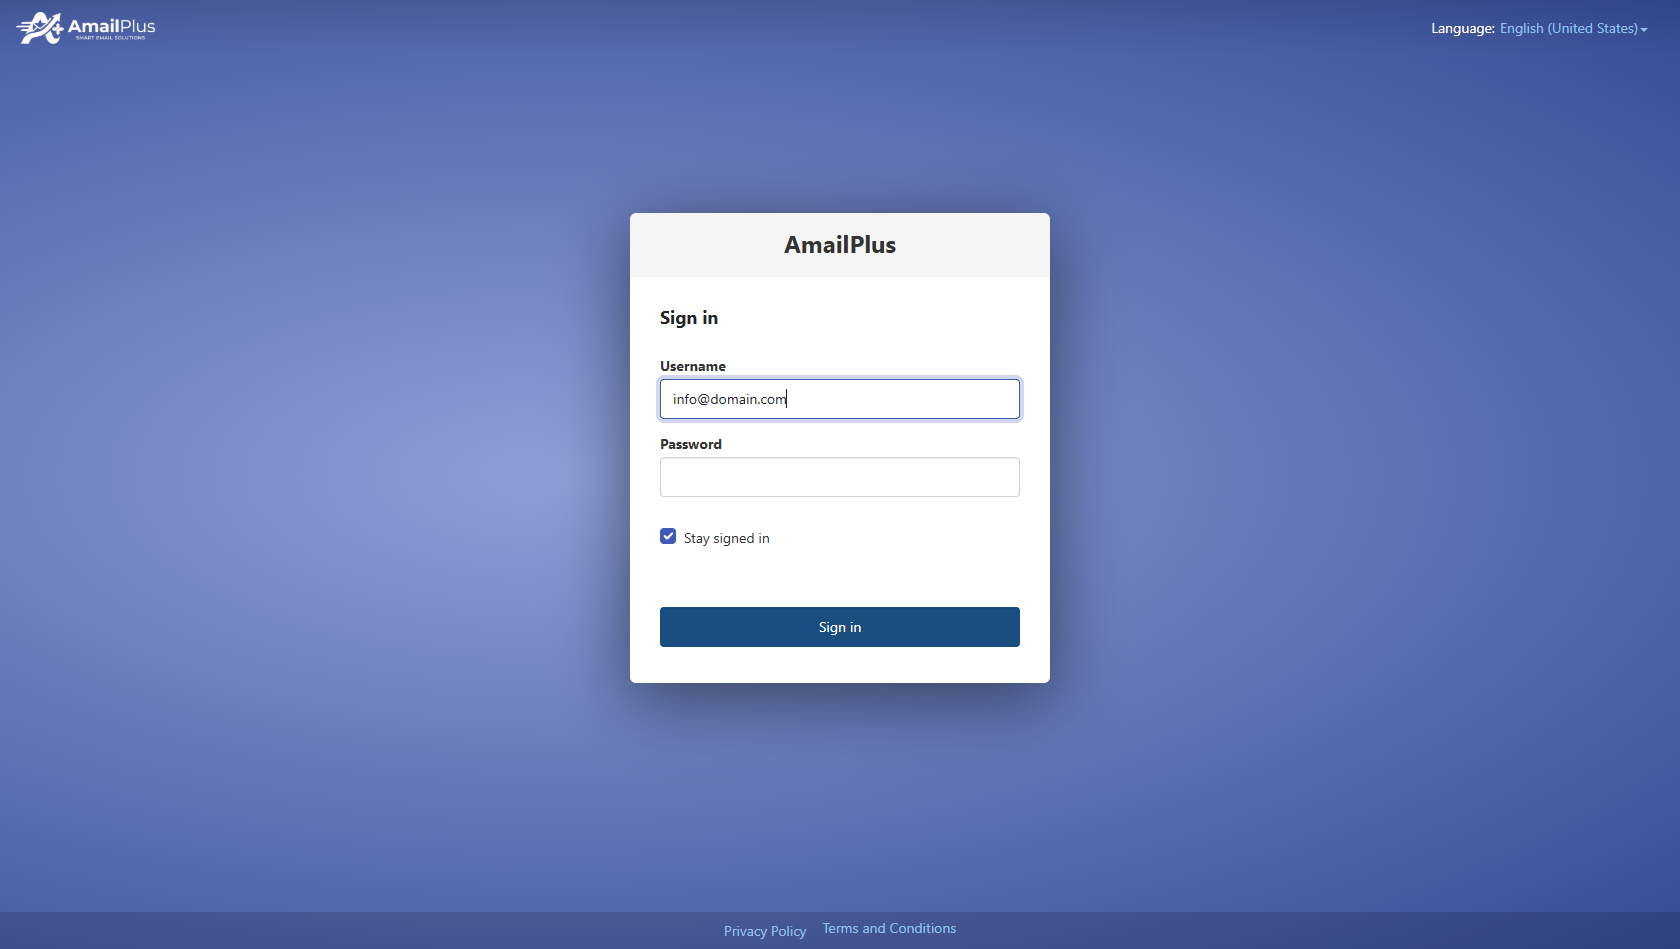
Open webmail.amailplus.com and sign in with your full email address and mailbox password. See How to Access Your AmailPlus Email if you need help signing in.
2. Choose a folder
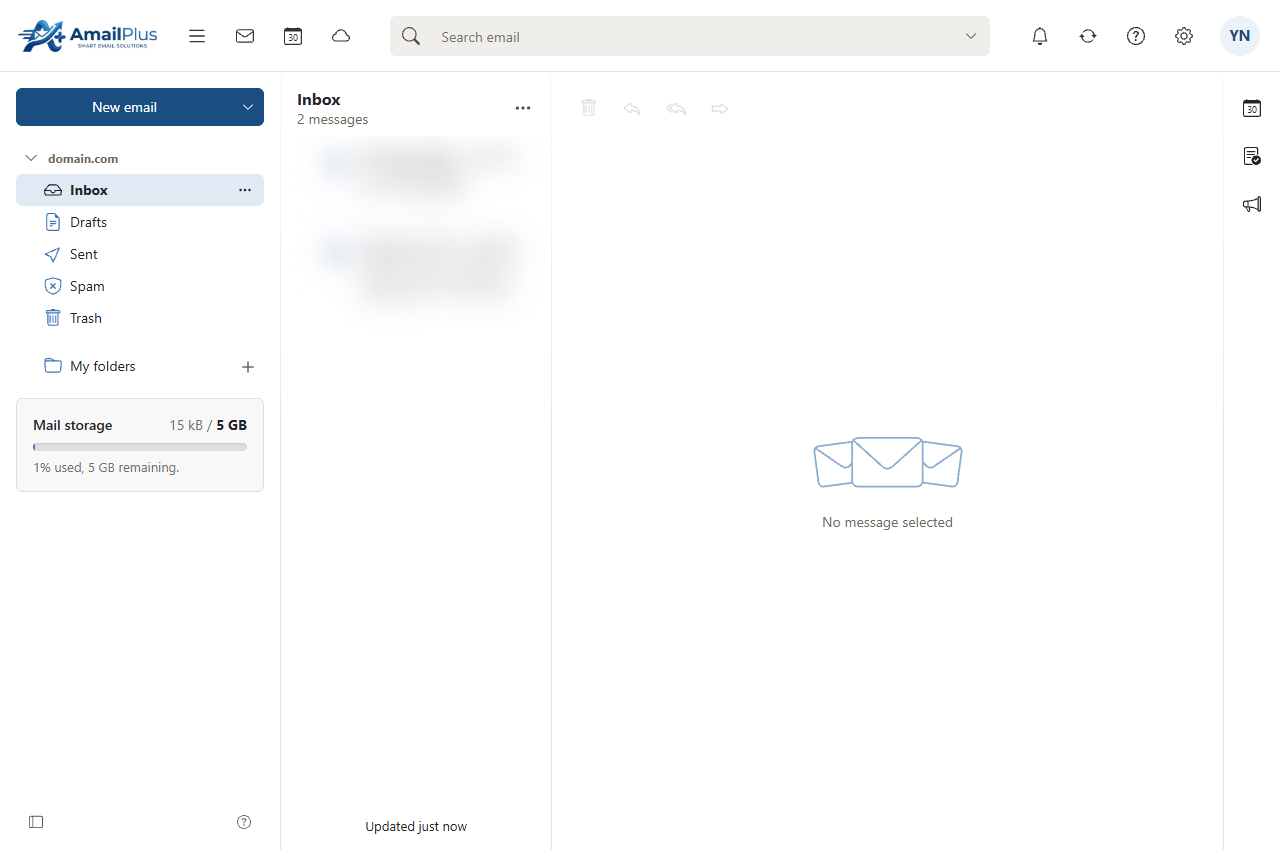
Use the folder list on the left to open Inbox, Drafts, Sent, Spam or Trash. Messages in the selected folder appear in the list beside it. The reading pane displays the message you select.
3. Search and sort your messages
Use Search email at the top to look for a message. Open the search options beside the field when you need more specific criteria.
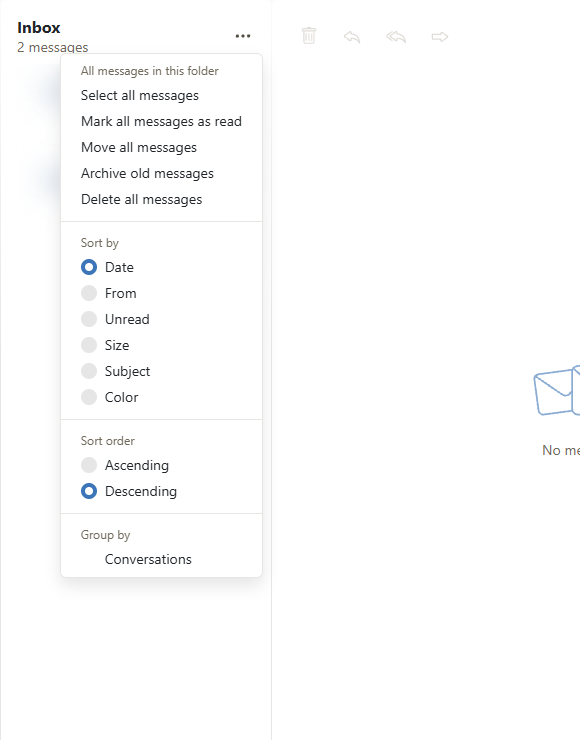
To sort the message list, click the three-dot menu beside the folder heading. Under Sort by, choose a field such as Date, From, Unread, Size or Subject. Choose Ascending or Descending to change the order.
4. Group related messages
In the same menu, select Conversations under Group by to group messages from the same conversation together. Clear that option when you prefer individual messages in the list.
5. Open a message
Click a message to read it in the reading pane. Double-click it if you want to open it in a separate message window. The toolbar above the message provides actions such as reply, forward, archive and move.
b. Sending a new email
1. Start a message
Click New email near the top-left corner to open the compose window.
2. Add recipients, a subject and your message
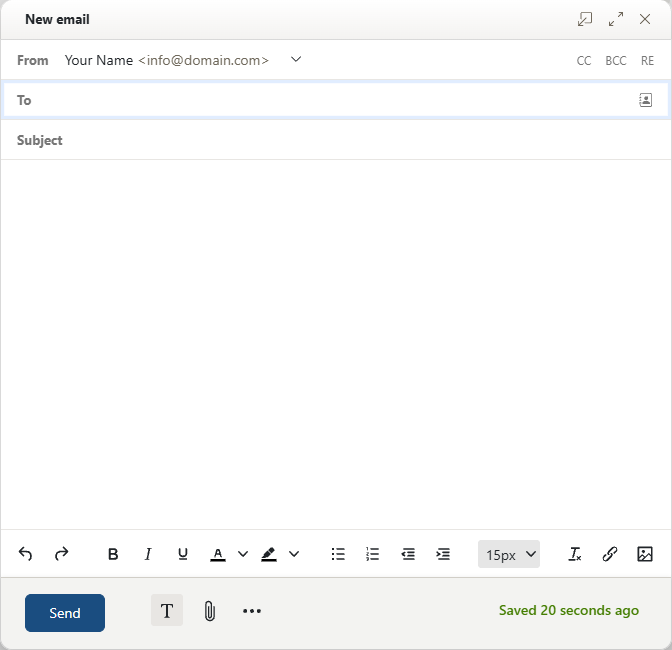
Enter an email address in To and press Enter to add the recipient. Repeat for additional recipients. Click CC for visible copy recipients or BCC for recipients whose addresses should be hidden from the other recipients.
Enter a clear Subject, then write your message in the large editing area. With HTML formatting enabled, the toolbar lets you format text, create lists and insert links or images.
3. Add attachments
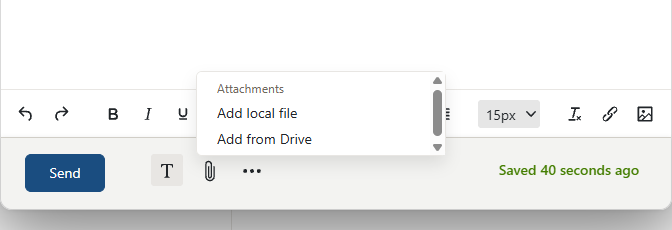
Click the paperclip button to open Attachments. Select Add local file to choose a file from your computer, or Add from Drive to use a file stored in your AmailPlus Drive. You can also drag a file into the compose window. Wait for attachments to finish uploading before sending.
4. Review the sender and message options
Check the From address at the top of the compose window. If your account offers multiple sender addresses, use its dropdown to choose the appropriate one.
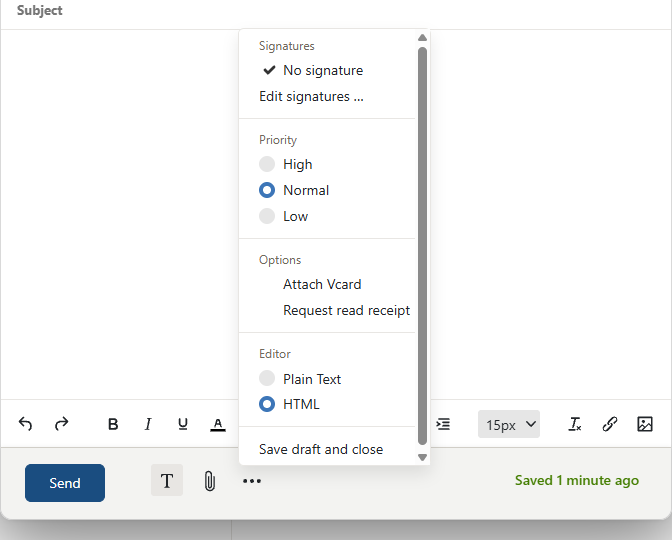
Open the three-dot Mail compose actions menu beside the paperclip to access:
- Signatures: select an available signature or choose Edit signatures…. See Setting Up an Email Signature on AmailPlus.
- Priority: choose High, Normal or Low.
- Attach Vcard: include your contact card when needed.
- Request read receipt: ask for a reading acknowledgement. Whether one is returned depends on the recipient's email application and choice.
- Editor: choose Plain Text or HTML.
- Save draft and close: keep an unfinished message to continue later from Drafts.
5. Send the email
Review the recipients, sender address, subject, message and attachments. When everything is ready, click Send. You can find sent messages in the Sent folder.
c. Replying to emails
- Open the message you want to answer.
- Choose Reply to sender to respond to the sender only, or Reply to all recipients to include the other recipients in the conversation.
- Write your response. You can add attachments and use the same formatting and message options as for a new email.
- Check who will receive the reply, then click Send.
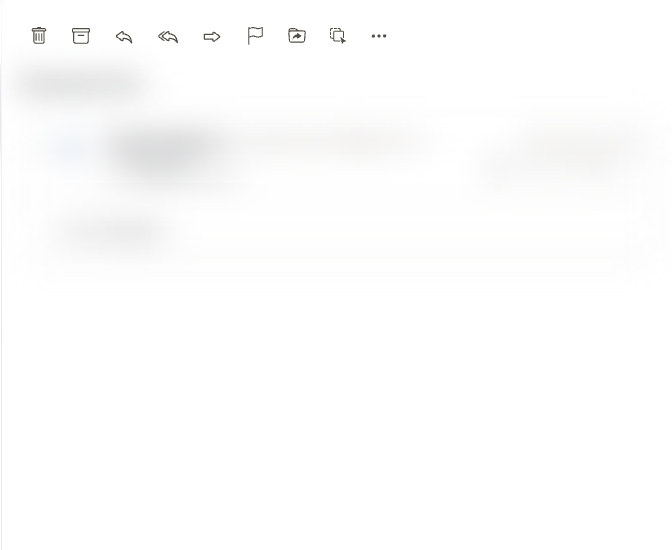
In the message toolbar, the single left-pointing reply arrow is for the sender; the double reply arrow is for all recipients. Hover over an icon to see its label.
d. Tips for using AmailPlus webmail
- Keep messages organised: use folders under My folders and move messages into the appropriate folder.
- Find mail faster: combine useful search terms with the available search options, then sort the results when needed.
- Manage connected accounts: if you add other accounts and a unified inbox is available, use it to view their incoming mail together.
- Use your workspace: the app navigation provides access to the calendar, contacts, Drive and other applications available for your account.
- Stay connected: use webmail in a desktop or mobile browser, or configure a supported email application.
For a desktop shortcut and app-style window, follow How to add AmailPlus as an App on to Your PC.
Need help? Contact Aveshost Support.
