


Creating professional, custom email addresses using your own domain name (such as [email protected], [email protected], or [email protected]) is essential for establishing brand credibility, enhancing security, and managing customer communications effectively.
DirectAdmin provides a powerful, built-in E-mail Manager that makes creating, organizing, and securing custom mailboxes straightforward. You can easily allocate custom storage quotas, set daily sending limits, access your inbox via Roundcube Webmail, and connect to third-party mail clients such as Microsoft Outlook, Apple Mail, Mozilla Thunderbird, Gmail, and smartphone mail applications.
In this step-by-step tutorial, we will guide you through creating an email account in DirectAdmin, accessing Webmail, configuring email client settings (IMAP / POP3 / SMTP), and managing mailbox storage.
Prerequisites
- An active Web Hosting account with DirectAdmin.
- A domain name configured in DirectAdmin (see How to Add a Domain Name in DirectAdmin) or a subdomain (see How to Create a Subdomain in DirectAdmin).
- Your domain pointed to Aveshost nameservers (refer to Where to find Aveshost nameservers).
- An active SSL certificate installed and HTTPS enforced (see How to Install an SSL Certificate in DirectAdmin and How to Force HTTP to HTTPS in DirectAdmin).
- Access to your DirectAdmin control panel (see How to Login to DirectAdmin Control Panel).
Step-by-Step Guide: How to Create an Email Account in DirectAdmin
Step 1: Access E-mail Accounts Manager
- Log in to your DirectAdmin control panel.
- In the top search bar, search for E-mail Accounts (or navigate to E-mail Manager > E-mail Accounts in the left navigation sidebar).
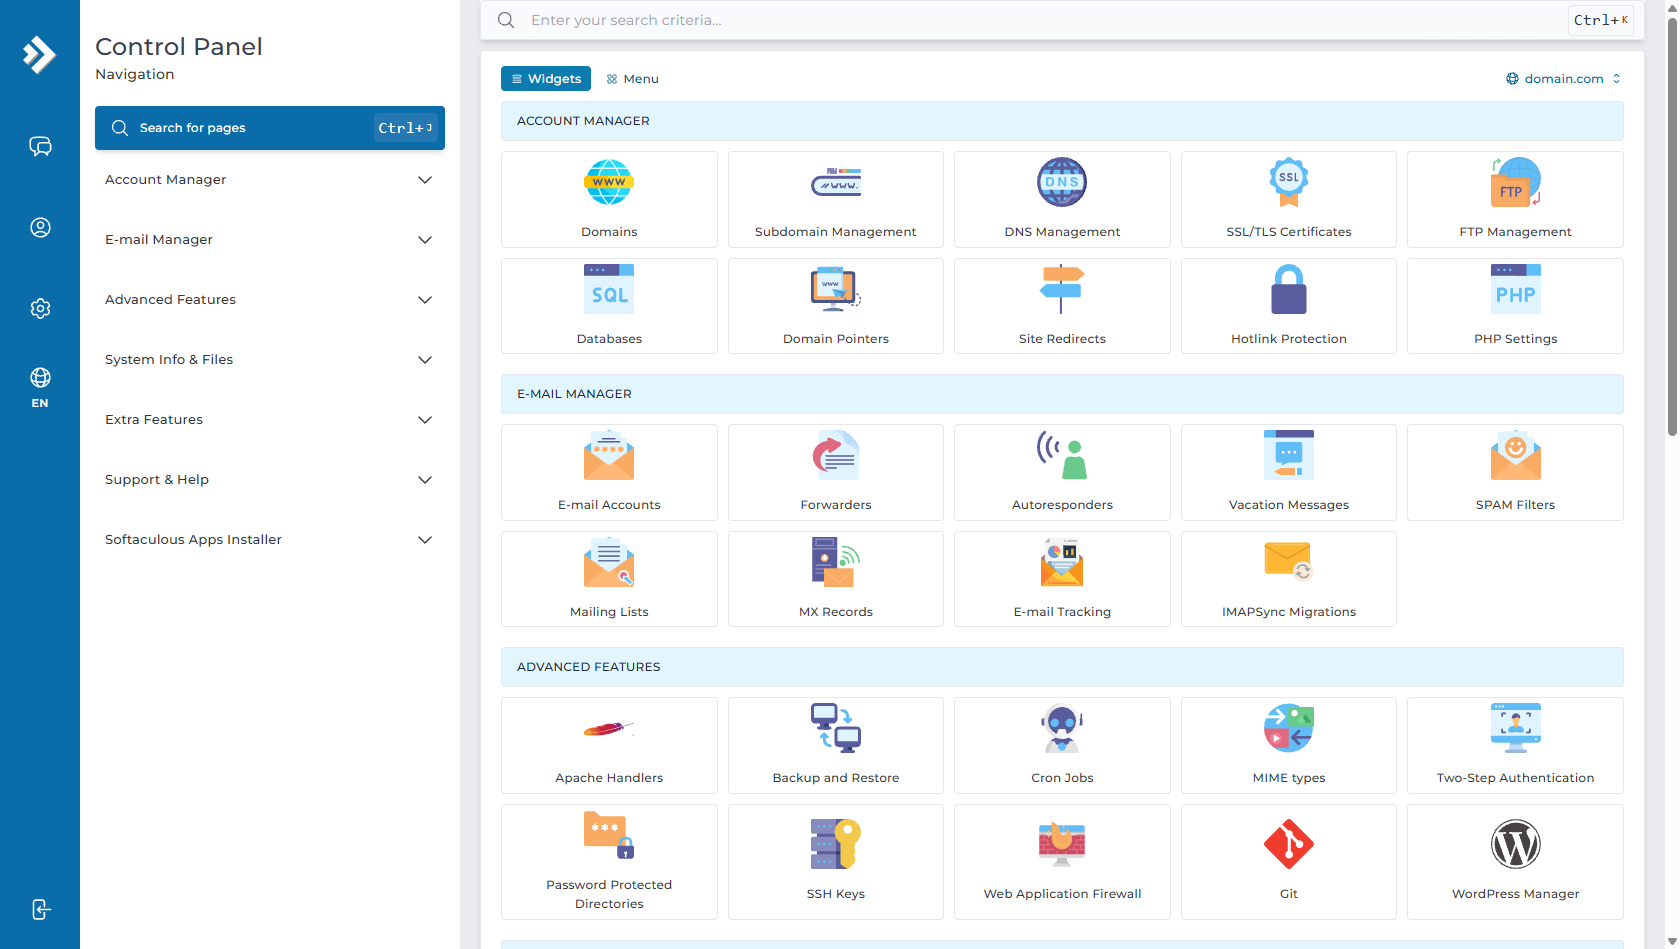
- You will be directed to the E-mail Accounts dashboard, where you can view all existing email accounts, disk usage, and sending statistics for your selected domain.
Step 2: Open the "Create Account" Window
- Click the + CREATE ACCOUNT button located in the top right corner of the dashboard.
Step 3: Enter Your Email Account Details
Fill out the email creation form with your preferred mailbox specifications:
| Field | Description | Example Value |
|---|---|---|
| Username | The prefix of your email address before the @domain.com. |
info, support, contact, john |
| Password | Enter a strong password (minimum 8-12 characters) or click the random password icon. | Strong password generator |
| E-mail Quota (MB) | Maximum disk storage allocated to this mailbox. Enter a value in megabytes (e.g. 1024 for 1 GB) or check Max for unlimited storage. |
1024 or Max |
| Daily Send Limit | Maximum number of outgoing emails allowed per day. Leave blank or check Max to use the hosting plan default. | 500 or Max |
Step 4: Save & Create Your Mailbox
- Click the CREATE ACCOUNT button.
- DirectAdmin will instantly provision your new mailbox and display a confirmation popup containing your email login details and mail server hostnames.
- Be sure to save your email address and password in a secure password manager.
Step 5: Accessing Your Inbox via Webmail (Roundcube)
You can access your email from any web browser worldwide without configuring desktop software:
- Direct Webmail URL: In your browser address bar, visit:
https://domain.com/roundcube # OR https://domain.com/webmail - Via DirectAdmin: In the left navigation menu under Extra Features (or System Info & Files), click Webmail: Roundcube.
- Enter your full email address (e.g.
[email protected]) and your password to sign in.
Configuring Email Clients (Outlook, Apple Mail, Thunderbird, Gmail, Mobile)
If you prefer using desktop or mobile email apps (such as Microsoft Outlook, Apple Mail on iPhone/Mac, Mozilla Thunderbird, or the Gmail app), use the following standard secure SSL connection parameters:
| Setting | Secure SSL / TLS (Recommended) | Non-SSL (Legacy) |
|---|---|---|
| Username | Your full email address (e.g. [email protected]) |
Your full email address |
| Password | Your email account password | Your email account password |
| Incoming Server | mail.domain.com |
mail.domain.com |
| IMAP Port (Sync All Devices) | 993 (SSL/TLS) |
143 |
| POP3 Port (Single Device Download) | 995 (SSL/TLS) |
110 |
| Outgoing (SMTP) Server | mail.domain.com |
mail.domain.com |
| SMTP Port | 465 (SSL/TLS) or 587 (STARTTLS) |
587 / 25 |
| Authentication | Required for Outgoing (SMTP) | Required for Outgoing (SMTP) |
Managing Your Email Accounts in DirectAdmin
From the E-mail Accounts dashboard, you can perform several ongoing management tasks:
- Change Password: Click the three dots (…) next to an account > select Change Password > enter a new password > Save.
- Modify Quota: Click the three dots (…) > select Change Limits to adjust storage allocation or send limits.
- Suspend / Unsuspend: Select an account and click Suspend to temporarily halt sending/receiving without deleting stored mail.
- Delete Account: Select the checkbox next to an account and click Delete to permanently remove the mailbox and all its messages.
- Email Forwarders: Navigate to E-mail Manager > Forwarders to forward incoming copies automatically to external addresses (e.g. Gmail or Yahoo).
- Autoresponders: Navigate to E-mail Manager > Autoresponders to set up automatic "Out of Office" holiday replies.
Frequently Asked Questions & Troubleshooting
Q: Why can't I send or receive emails on my new domain?
A: Ensure that your domain's DNS records include an active MX record pointing to mail.domain.com and that your nameserver DNS propagation is complete (typically 1 to 24 hours).
Q: Should I choose IMAP or POP3 when setting up my email app?
A: We strongly recommend IMAP. IMAP keeps all your emails, sent items, and folders synchronized across your computer, phone, tablet, and Webmail. POP3 downloads messages locally to one device and deletes them from the server.
Q: Why does my email client show an "Untrusted Certificate" warning?
A: Make sure your free Let's Encrypt SSL certificate covers the mail.domain.com host. In DirectAdmin, go to Account Manager > SSL Certificates > select Free & automatic certificate from Let's Encrypt, check both domain.com and mail.domain.com, and click Save.
Q: What should I do if my mailbox is full?
A: When a mailbox exceeds its quota, incoming emails will bounce back to senders. To resolve this, log in to DirectAdmin, go to E-mail Accounts, click Change Limits on the account, and increase the E-mail Quota (MB) or check Max.
Need Further Assistance?
If you need any help setting up custom business emails, configuring DNS mail records, or connecting your email accounts to Microsoft Outlook, Apple Mail, or mobile devices, our technical support team is available 24/7. Feel free to submit a support ticket through your client area for expert assistance.
