


Angular is an enterprise-grade TypeScript web application framework developed by Google for building high-performance Single-Page Applications (SPAs) and dynamic web platforms. Modern Angular (Angular 17, 18, and later) natively supports two primary deployment methods on DirectAdmin hosting:
- Method 1: Static Client-Side Rendering (CSR / SPA) Deployment — Recommended for most websites: Uses the compiled
dist/your-app-name/browser/folder, serving static HTML, CSS, and JavaScript bundles directly through DirectAdmin’s high-speed Apache or LiteSpeed web server with zero background Node.js process overhead. - Method 2: Server-Side Rendering (SSR) via Node.js (@angular/ssr): Uses both the
browser/(static assets) andserver/(Node.jsserver.mjs) directories, running as a live Node.js application managed by DirectAdmin’s Setup Node.js App for dynamic SEO, fast First Contentful Paint (FCP), and social sharing meta tags.
In this comprehensive guide, we will walk you through both deployment strategies step-by-step, including build commands, output directory structures, DirectAdmin File Manager / Node.js manager configurations, and critical .htaccess URL rewrite rules.
Prerequisites
- An active Web Hosting account with DirectAdmin.
- A domain name configured in DirectAdmin (see How to Add a Domain Name in DirectAdmin) or a subdomain (see How to Create a Subdomain in DirectAdmin).
- Your domain pointed to Aveshost nameservers (refer to Where to find Aveshost nameservers).
- An active SSL certificate installed and HTTPS enforced (see How to Install an SSL Certificate in DirectAdmin and How to Force HTTP to HTTPS in DirectAdmin).
- Access to your DirectAdmin control panel (see How to Login to DirectAdmin Control Panel).
- A local development computer with Node.js and Angular CLI (
@angular/cli) installed.
Method 1: Deploying Angular as Static CSR / SPA (Recommended)
Static CSR is the standard, most cost-effective method to deploy Angular apps. It delivers ultra-fast response times because compiled assets are cached and served directly by DirectAdmin’s web server.
Step 1: Build the Static Browser Bundle Locally
- Open your terminal in your local Angular project directory.
- Run the production build command:
ng build --configuration production # OR if using npm scripts: npm run build - Understanding the Output Directory:
- In Angular 17+ (Application Builder), static browser files are compiled to:
dist/your-app-name/browser/. - In Angular 16 and earlier (Webpack Builder), files are compiled to:
dist/your-app-name/.
- In Angular 17+ (Application Builder), static browser files are compiled to:
- Setting Base Href: For root domains, the default
<base href="/">is correct. If you are deploying into a subfolder (e.g.https://domain.com/portal/), build with:ng build --configuration production --base-href /portal/ - Compress the static output: Navigate inside the
browser/folder (ordist/your-app-name/for older versions), select all files (includingindex.html,main-*.js,polyfills-*.js,styles-*.css,favicon.ico, and theassets/ormedia/folder), and compress them into a.ziparchive (e.g.,angular-static.zip).
Important: Compress the files INSIDE the browser folder, not the dist parent folder.
Step 2: Access DirectAdmin File Manager
- Log in to your DirectAdmin control panel.
- Under System Info & Files, click on File Manager.
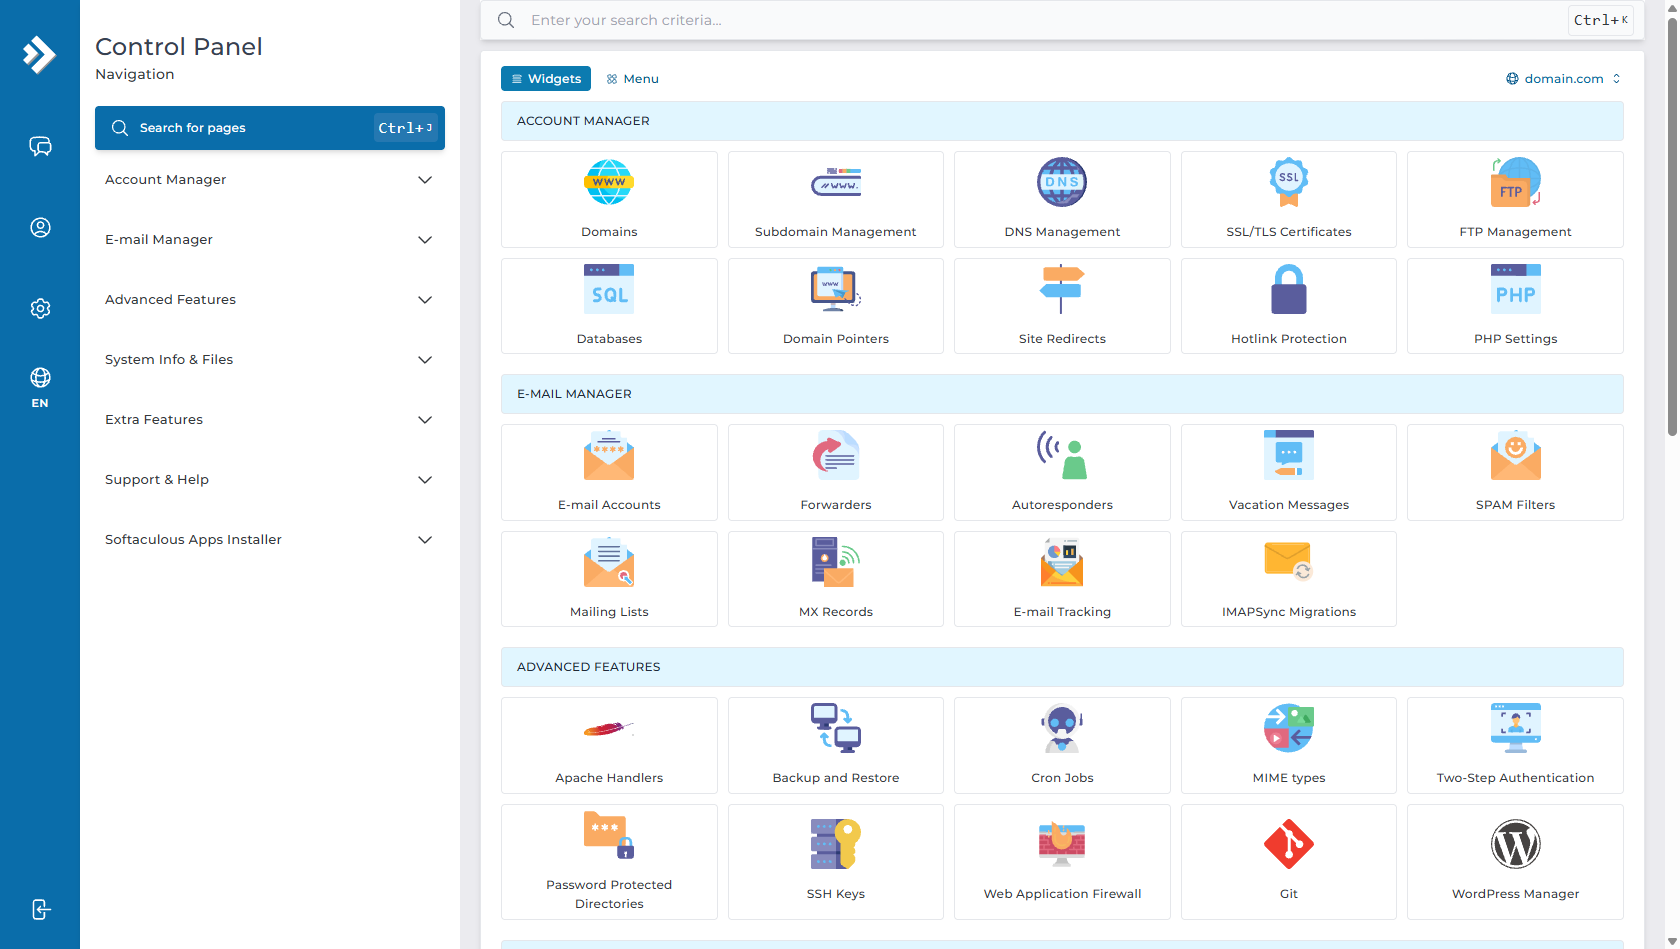
Step 3: Upload and Extract Your Angular Build
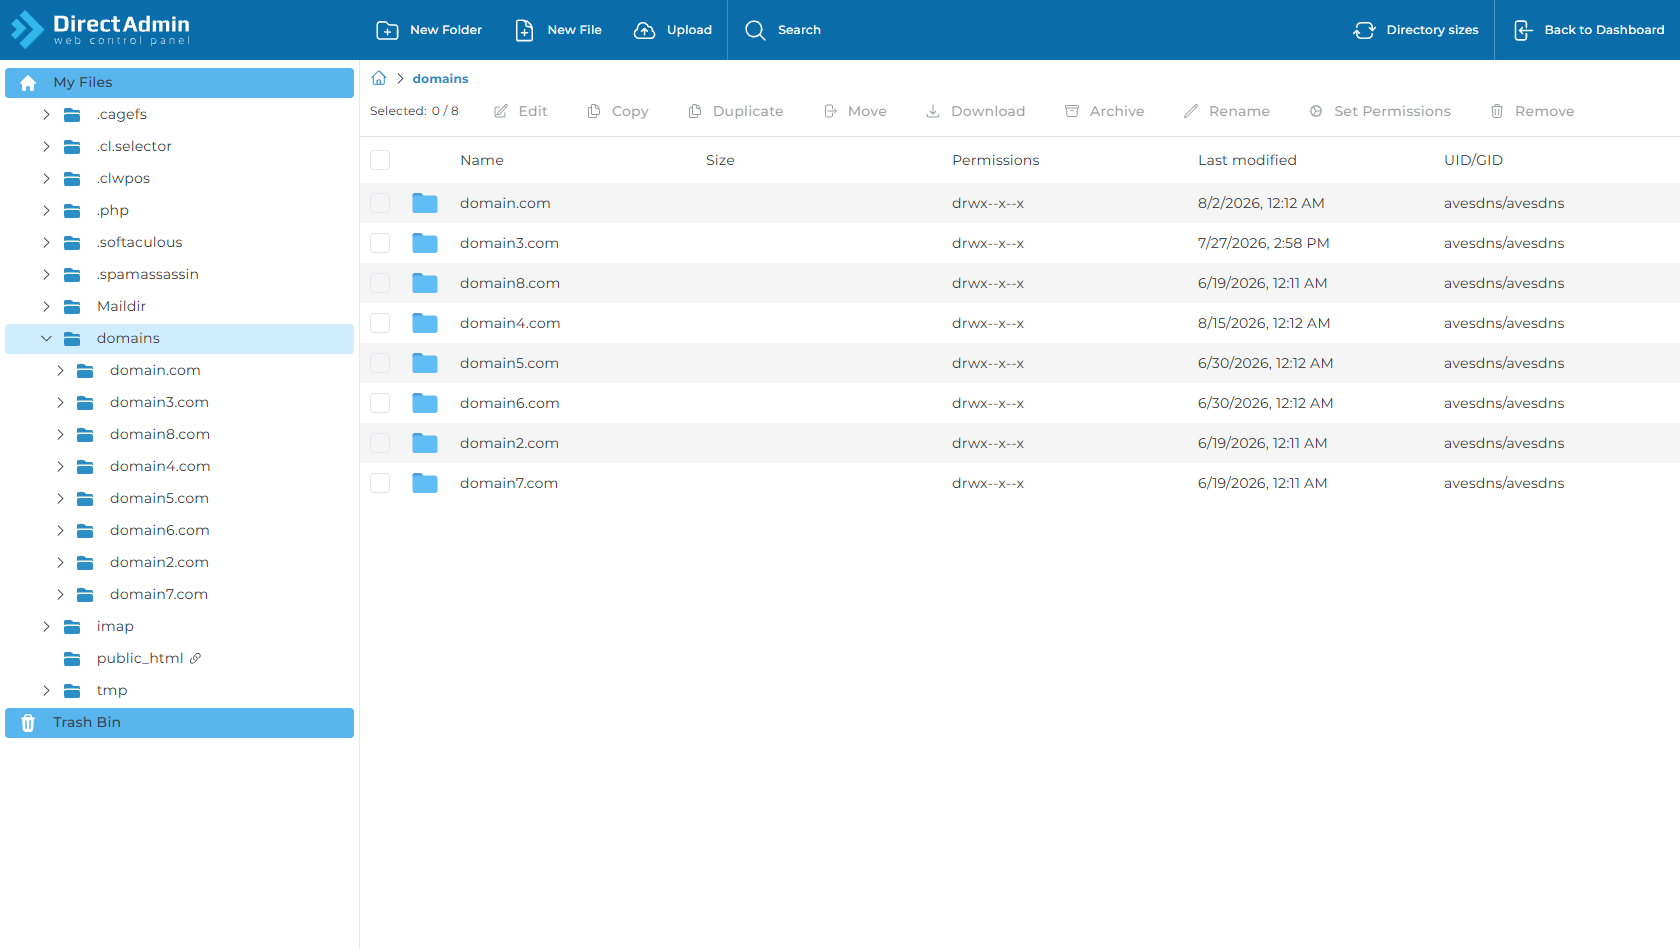
- In File Manager, navigate to your target domain’s document root:
(If deploying to a subdomain, navigate todomains > domain.com > public_htmldomains > subdomain.domain.com > public_html). - Delete any default placeholder files (such as a default
index.html). - Click Upload in the top navigation bar and select your
angular-static.ziparchive. - Once uploaded, right-click the archive and click Extract. Ensure that
index.htmland the JavaScript bundles sit directly in thepublic_htmlroot.
Step 4: Configure .htaccess for Angular Router (SPA Routing)
CRITICAL STEP FOR ANGULAR APPLICATIONS: Angular uses client-side routing via Angular Router (HTML5 pushState). When a visitor navigates to https://domain.com/dashboard or https://domain.com/profile and reloads the page, the web server looks for a physical directory named /dashboard. Because that folder does not exist physically on the server, Apache will return a 404 Not Found error.
To fix this, you must configure an Apache rewrite rule in .htaccess to route all client requests back to index.html:
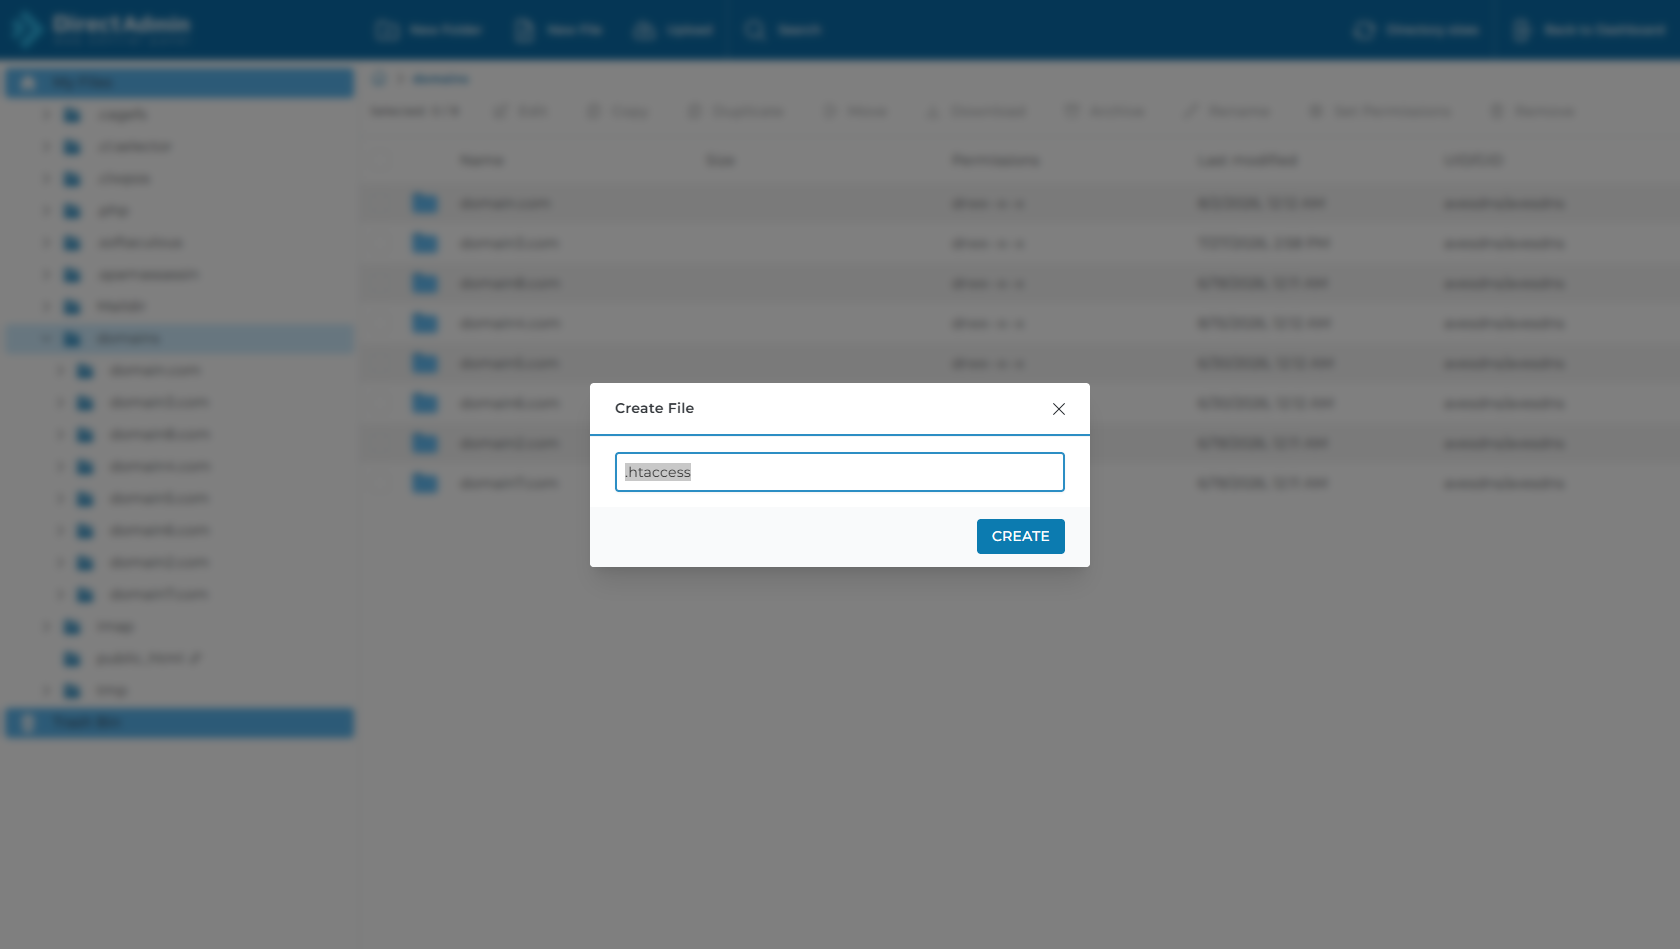
- Inside your domain's
public_htmldirectory in File Manager, click the + New File button in the top toolbar. - Enter
.htaccessas the file name and click Create. - Select the
.htaccessfile, click Edit, and paste the following rewrite configuration:<IfModule mod_rewrite.c> RewriteEngine On RewriteBase / RewriteRule ^index\.html$ - [L] RewriteCond %{REQUEST_FILENAME} !-f RewriteCond %{REQUEST_FILENAME} !-d RewriteRule . /index.html [L] </IfModule> - Click Save.
Step 5: Test and Verify Your Live Angular Website
- Open your web browser and navigate to
https://domain.com. - Your Angular application should load immediately with all components and styles.
- Test internal routes (e.g., click links to
/dashboardor/settings). - Perform a hard refresh (
Ctrl + F5on Windows /Cmd + Shift + Ron Mac) on an internal page to verify that the.htaccessrewrite maintains the route seamlessly!
Method 2: Deploying Angular as a Node.js SSR Application
If your Angular application is built with Server-Side Rendering (SSR) via @angular/ssr (or Angular Universal) for rich search engine indexing and dynamic server execution, you can run it as an active Node.js application in DirectAdmin:
Understanding the Angular SSR Build Structure
When you run ng build on an Angular project configured with SSR, the CLI generates two folders inside dist/your-app-name/:
dist/your-app-name/browser/: Contains the client-side JavaScript, CSS, images, and public HTML assets.dist/your-app-name/server/: Contains the Node.js SSR server executable (server.mjs) and server bundle.
Step 1: Create a Node.js Startup Entry Point
In your local project root directory, create a startup file named server.js that imports and executes your compiled Angular server:
// server.js - Angular SSR Entry Point for DirectAdmin
import('./dist/your-app-name/server/server.mjs');
Compress the dist/ folder, package.json, and server.js into a .zip archive (e.g., angular-ssr.zip).
Step 2: Access "Setup Node.js App" in DirectAdmin
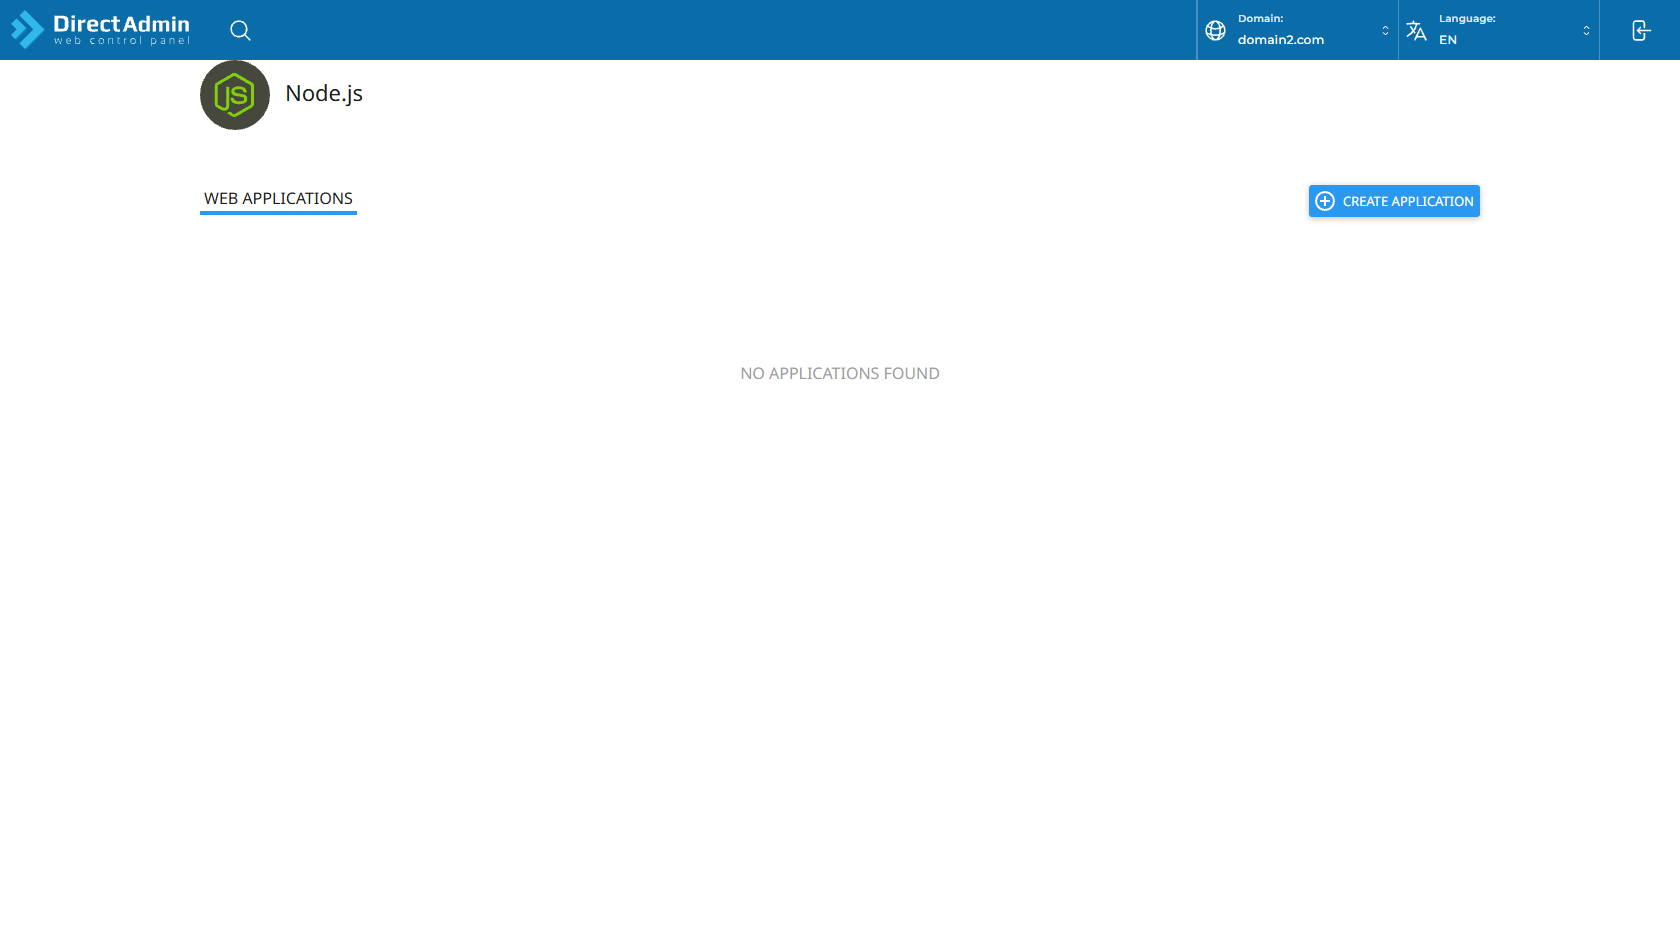
- In your DirectAdmin control panel, navigate to Extra Features > Setup Node.js App.
- Click the + CREATE APPLICATION button in the top right corner.
Step 3: Configure the Application Settings
| Setting | Recommended Value | Description |
|---|---|---|
| Node.js Version | 18.x or 20.x |
Select the LTS Node version matching your Angular CLI version. |
| Application Mode | Production |
Optimizes memory and performance for live traffic. |
| Application Root | angular-ssr |
The folder where your Angular SSR files are stored. |
| Application URL | domain.com |
Select your target domain name from the dropdown. |
| Application Startup File | server.js |
The entry point script created in Step 1. |
Step 4: Upload SSR Files & Install Dependencies
- In File Manager, navigate to the Application Root folder (e.g.,
/home/username/angular-ssr). - Upload and extract your
angular-ssr.ziparchive. Ensureserver.js,package.json, and thedist/folder are present. - Return to Setup Node.js App in DirectAdmin and click Run NPM Install to install production dependencies (like
expressand@angular/ssr). - Click Start Application (or Restart) to launch your live Angular SSR server.
Performance Optimizations & Best Practices
1. Production Environment Variables
Configure production API endpoints in src/environments/environment.prod.ts (or src/environments/environment.ts):
export const environment = {
  production: true,
  apiUrl: 'https://api.domain.com'
};
2. Browser Caching for Angular Bundles
Because Angular CLI automatically appends content hashes to generated JavaScript and CSS bundle filenames (e.g. main.3fa89d.js), you can enable long-term browser caching in your .htaccess file to maximize load speeds:
<IfModule mod_expires.c>
  ExpiresActive On
  ExpiresByType image/jpg "access plus 1 year"
  ExpiresByType image/jpeg "access plus 1 year"
  ExpiresByType image/png "access plus 1 year"
  ExpiresByType image/svg+xml "access plus 1 year"
  ExpiresByType text/css "access plus 1 year"
  ExpiresByType application/javascript "access plus 1 year"
  ExpiresByType application/font-woff "access plus 1 year"
  ExpiresByType application/font-woff2 "access plus 1 year"
</IfModule>
Frequently Asked Questions & Troubleshooting
Q: Which Angular deployment method should I choose?
A: For 90% of Angular projects (dashboards, admin portals, internal tools, client apps), Method 1 (Static CSR) is the simplest, fastest, and most resource-efficient. Choose Method 2 (Node.js SSR) if your application requires public search engine crawlability (SEO), social media preview cards, or fast initial server-rendered markup.
Q: Why does my Angular app show a blank white screen?
A: A blank screen is almost always caused by an incorrect <base href="/"> tag in your index.html. If you are hosting in the root domain, ensure base href is /. If hosting in a subfolder (e.g. /portal/), build your app with ng build --base-href /portal/.
Q: Why do subroutes return "404 Not Found" on page refresh in static mode?
A: This happens when the web server tries to find a physical file for an Angular Router path. Ensure you have created the .htaccess file inside public_html containing the rewrite rules outlined in Step 4.
Q: Where are my build files located in Angular 17 and 18?
A: Modern Angular versions (17+) utilize the new Application Builder (esbuild/Vite). If SSR is enabled, it generates two subdirectories: dist/project-name/browser/ (for client assets) and dist/project-name/server/ (for the Node SSR server). For static hosting, upload only the contents of browser/.
Need Further Assistance?
If you need any help deploying your Angular application or configuring custom server settings, our technical support team is available 24/7. Feel free to submit a support ticket through your client area for prompt assistance.
